Freemask allows you to produce in no time precise and homogeneous cut-out masks while working in the studio. It is a brilliant way to reproduce even the smallest structures, details, and transparencies. The fact is that photographers do struggle when it comes to the cut-out work after production. Freemask is a brilliant solution and I would like to explain the whole process in this blog post.
The bronControl App in combination with the Siros or Siros L makes it possible to use the freemask mode. Note that the mask is created during the picture-taking process, which guarantees a workflow of the highest quality at a most efficient level.
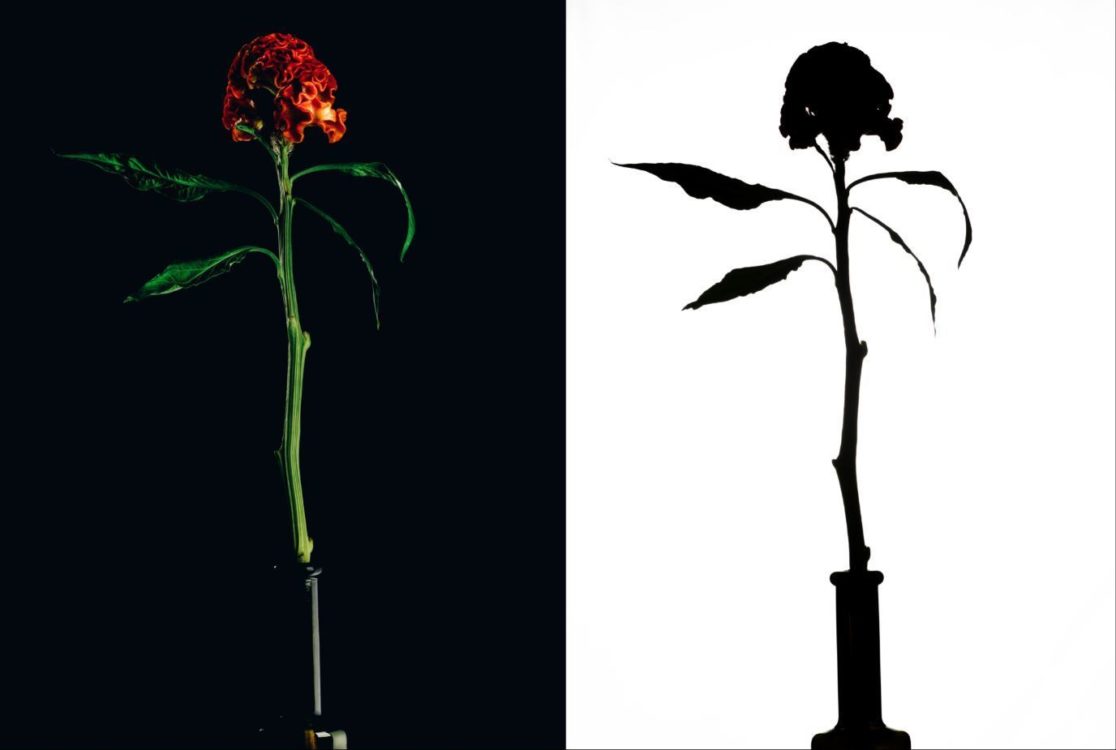
The picture I captured was a flower with lots of little details, which would be hard to cut out in Photoshop.
The light setup was very basic, nothing fancy.
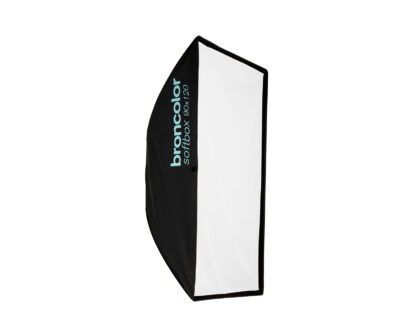
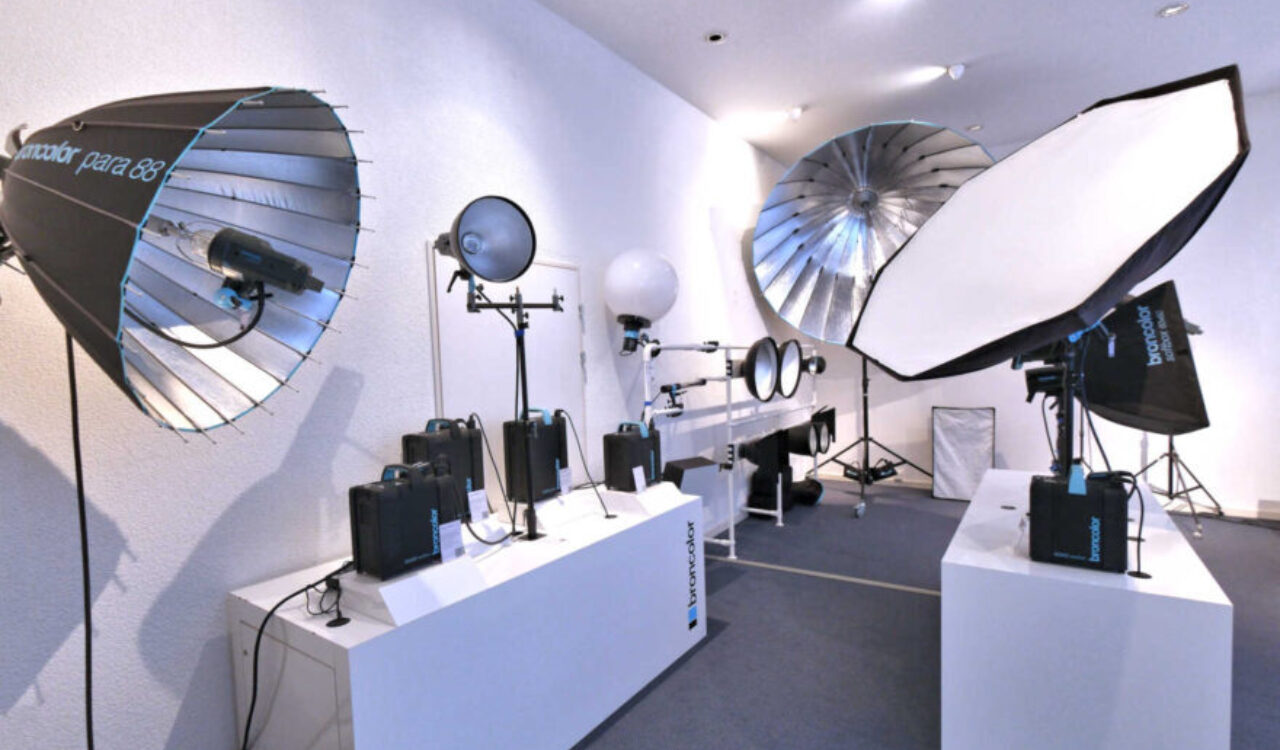
First of all, I decided on having a clean white background. One Siros 800 L attached to a 90×120 Softbox created the background. The second light was a Siros 800 L attached to a 35×60 Softbox placed on the right side of the flower. On the left side, a third Siros 400 L was responsible for the crisp backlight behind the flower in combination with a very narrow honeycomb grid. My fourth light was a Siros 400 L attached to a 35×60 Softbox to create a reflection in the vase.
A few simple steps to achieve the freemask image.
Settings on your Siros and device
1. Switch on the WiFi mode on Siros and the device
2. Choose the same studio for all your lamp heads for perfect communication between RFS 2, device, and Siros
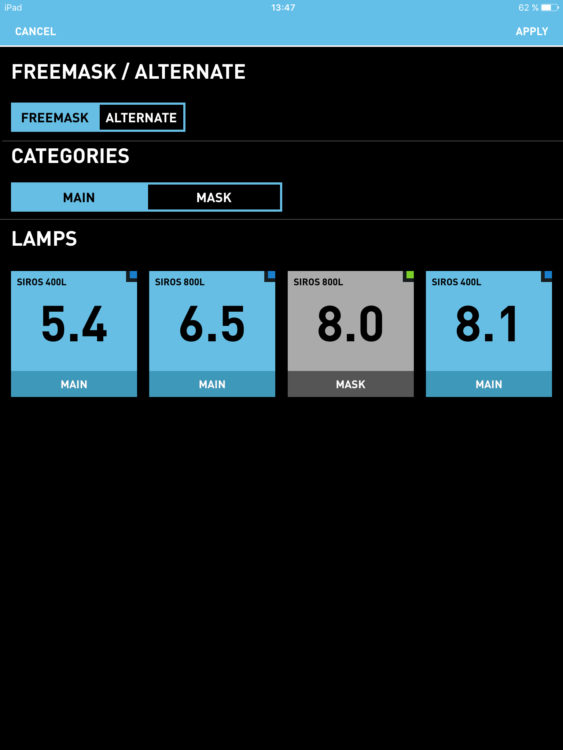
3. Give your main lights and mask an individual number to create groups
4. Individual number means different colour cognition lights. It helps to get effective control over your lights via App
5. Same lamp number means the same group which makes it easy to see the main light and the light for the mask
Freemask mode
1. Enter the “more” button
2. Press the “freemask” mode
3. Group number 1 are the main lights and group number 2 is the mask
You are ready to shoot
In freemask mode when pressing the release button on the camera the main lights will fire first. Pressing the shutter for the second time you will capture the mask.
The first image you capture will have the object lit and in the second image, you will see that the freemask is generated in which only the flashes for the lighting of the silhouette are activated. Normally the lights for the mask are rather large, even, and bright.
What an amazing tool to make life so much easier while working in Photoshop. Now it is only a smaller matter of cropping the object in Photoshop.
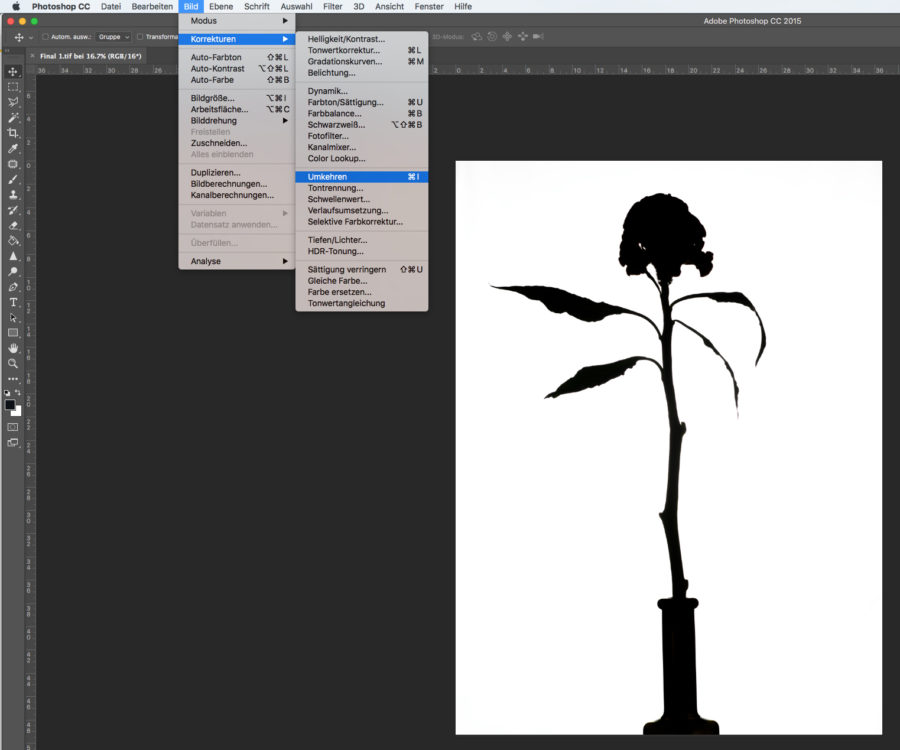
To do this, one only needs to open the silhouette and invert it via image -> correction -> invert:
Thereafter, one lays the inverted level over the background level of the opened original image:
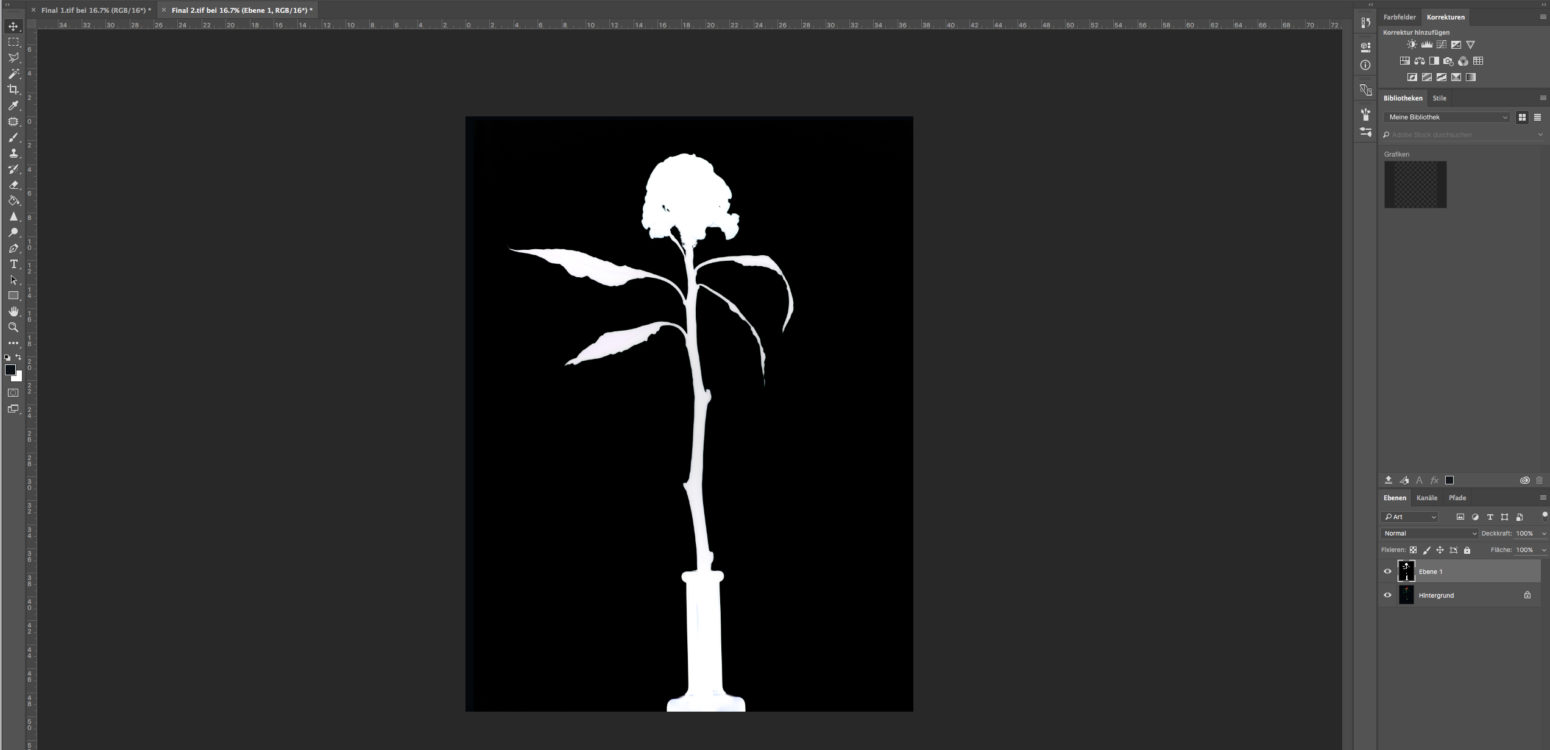
Now you can load the luminance of this level as a selection by pressing CMD + Alt + 2!
If one clicks on the masking symbol of the background level (original image) the selection is added as a mask and the image has now been cropped. The level with the silhouette is now no longer needed and can be deleted.
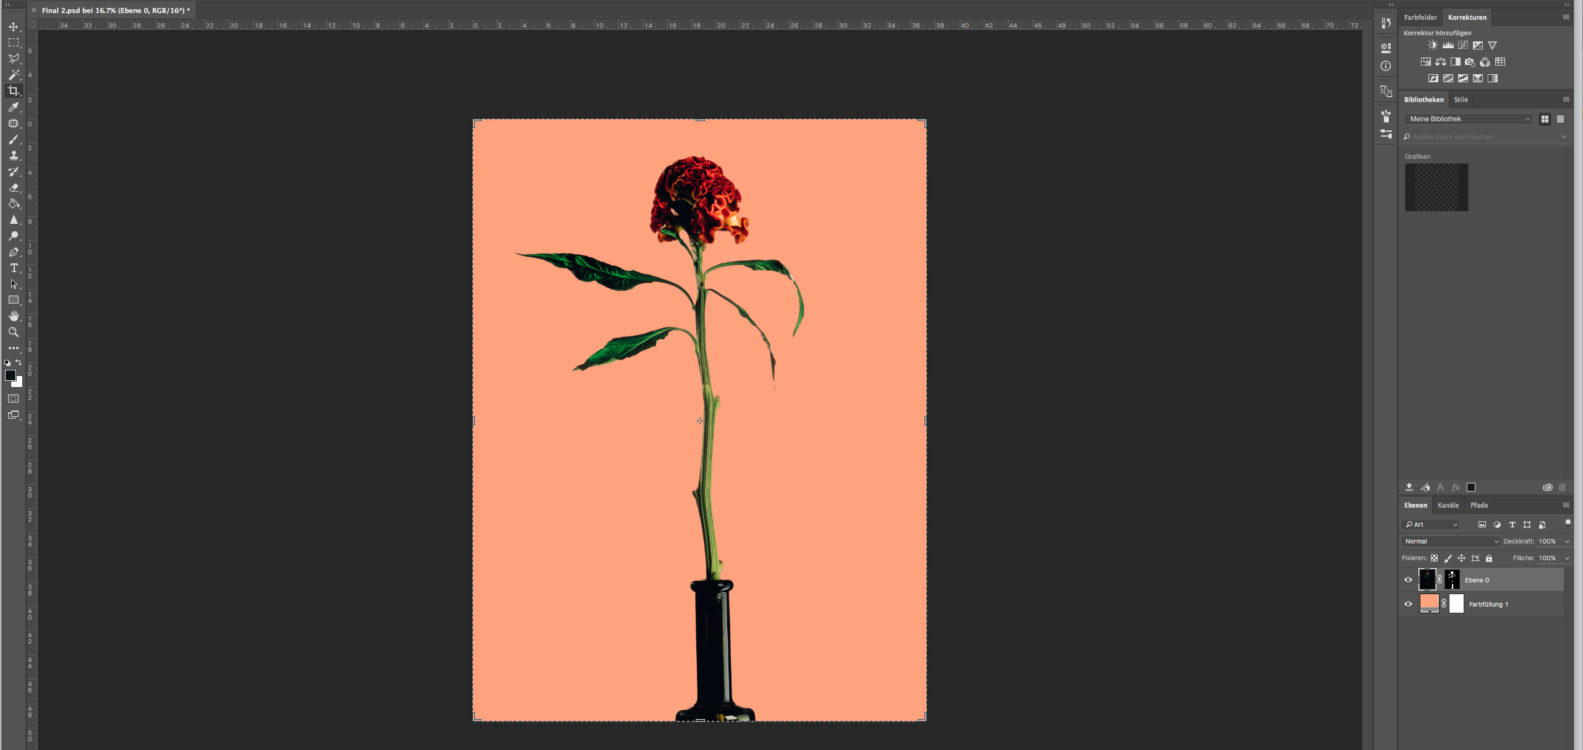
In my example, I have already set a colour fill as a new background underneath. However, this could be another photo, a curve or whatever you please – your creativity is limitless.