Questions about HyperSync and Highspeed Sync come up time and time again. That is why I want to explain this subject in detail. Since it covers a great deal of ground, I will divide it into two parts. Here in this first blog post I am going to explain theoretically how HyperSync works. In the second part, which I am still working on, I will demonstrate how to use it on the basis of a practical example. This will include showing you a neat trick how to use HyperSync with the broncolor RFS.
But for now, let’s concentrate on the theory.
X-Sync Time
Normally a camera shutter operates as follows:
1) The first curtain opens to reveal the camera’s image sensor.
2) As soon as the first curtain is fully open, the flash is triggered.
3) The second curtain closes to cover the image sensor so that no light reaches it any longer.

So far, so good! But what is the X-Sync time?
It is a fact that the shutter curtains need a certain time to pass across the image sensor. This time differs from camera to camera, but is normally about 1/250s. So the X-Sync time is, in effect, the time the shutter needs to pass across the image sensor.
So how do I take a picture with a shorter exposure than the X-Sync time?
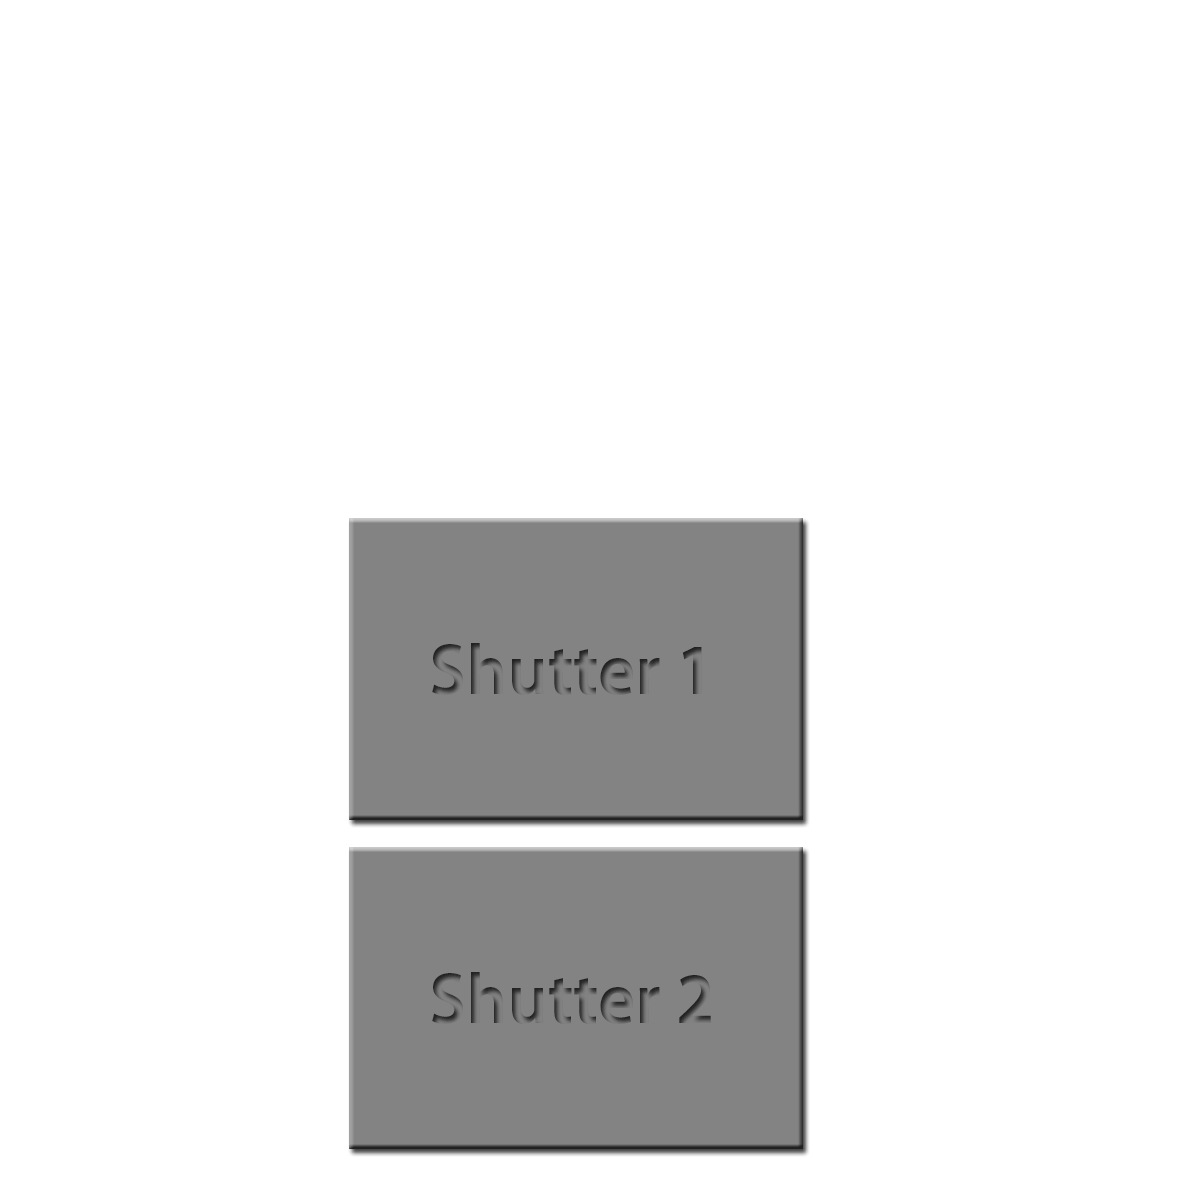
It is possible because this shorter exposure actually exists only for individual image pixels. The camera’s shutter is never completely open. That is to say the second shutter curtain starts to close while the first curtain is still opening. In effect a sort of scan procedure. It works like this:
1) The first shutter curtain starts to open
2) The second shutter curtain starts to close while the first curtain is still opening.
3) The effect is that only a narrow slit is open (it’s width depends on the exposure time selected) and the individual pixels are exposed for the correct period of time.

Then why do we need HyperSync? Can I not flash for a faster time than X-Sync?
The short answer is: no. The problem is that the flash is triggered as soon as the first curtain is fully open. In this situation, however, the second shutter curtain is already in action and covering a part of the image. So this part is not exposed and will appear as a dark bar across the image. Let’s look at it, step by step:
1) The first shutter curtain starts to open
2) The second shutter curtain starts to close so that the individual pixels are exposed for the correct period of time.
3) The flash fires when the first shutter curtain is completely open. But the second shutter curtain has already covered a part of the image. So the complete image sensor is never fully open to light
4) And where the second shutter curtain is over the image sensor a dark band appears in the Image.

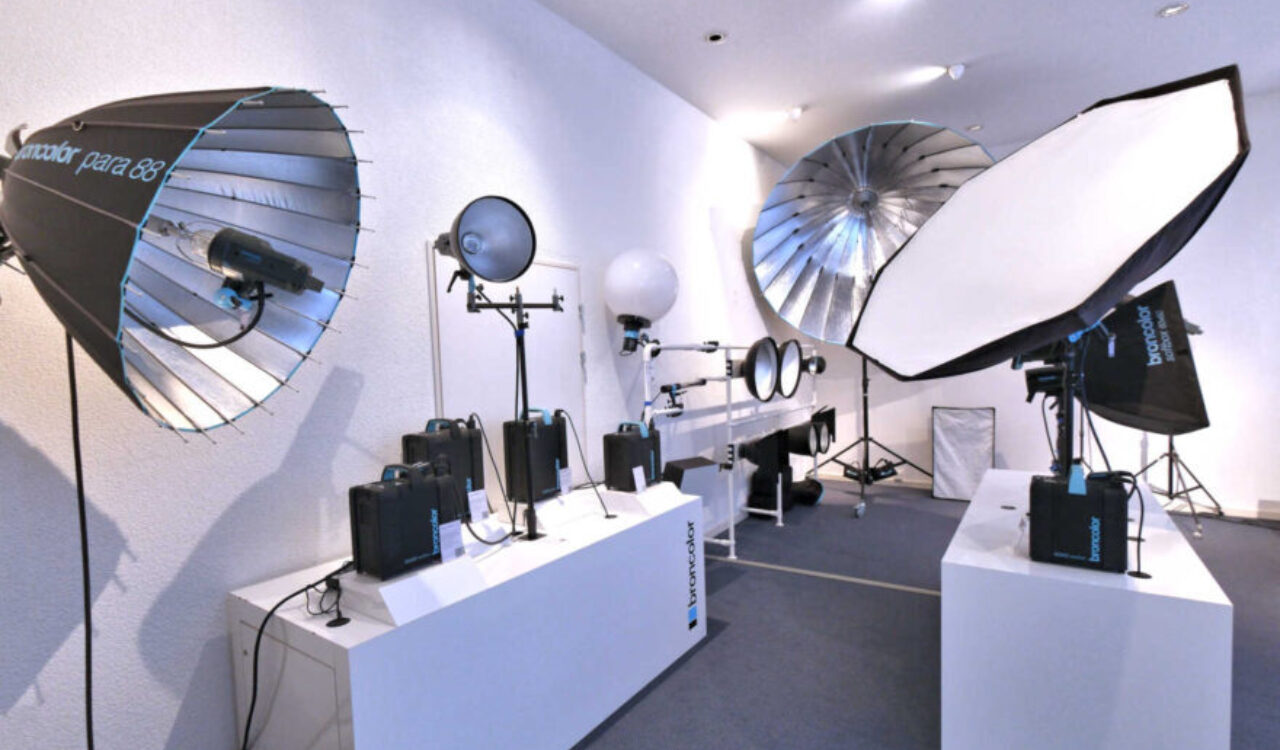
So when working with flash, you are restricted to an exposure time of about 1/250s. Indoors this is not a problem, because with broncolor you can have 1/10000s flashes. That is to say that in a dark studio the shutter can be open as long as it wants. The image will only be exposed by the ultra-short flash and will be pin sharp. Outdoors the situation is completely different. With an exposure time of 1/250s, you get an awful lot of light on the image, even at ISO 100. This means that even if I have the world’s fastest flash, my moving subject will still not be sharp. The other problem is that, for precisely this reason, you cannot use flash with a big aperture. Because if I take a photo outdoors with 1/250s and f-stop 1.4, with sunlight alone my image will be overexposed. So why bother with flash.
HyperSync – the solution
HyperSync gives us a way to circumvent the restriction imposed by the X-Sync time. Certainly everyone reading this has heard of it, but not so many know precisely how it works and what to watch out for.
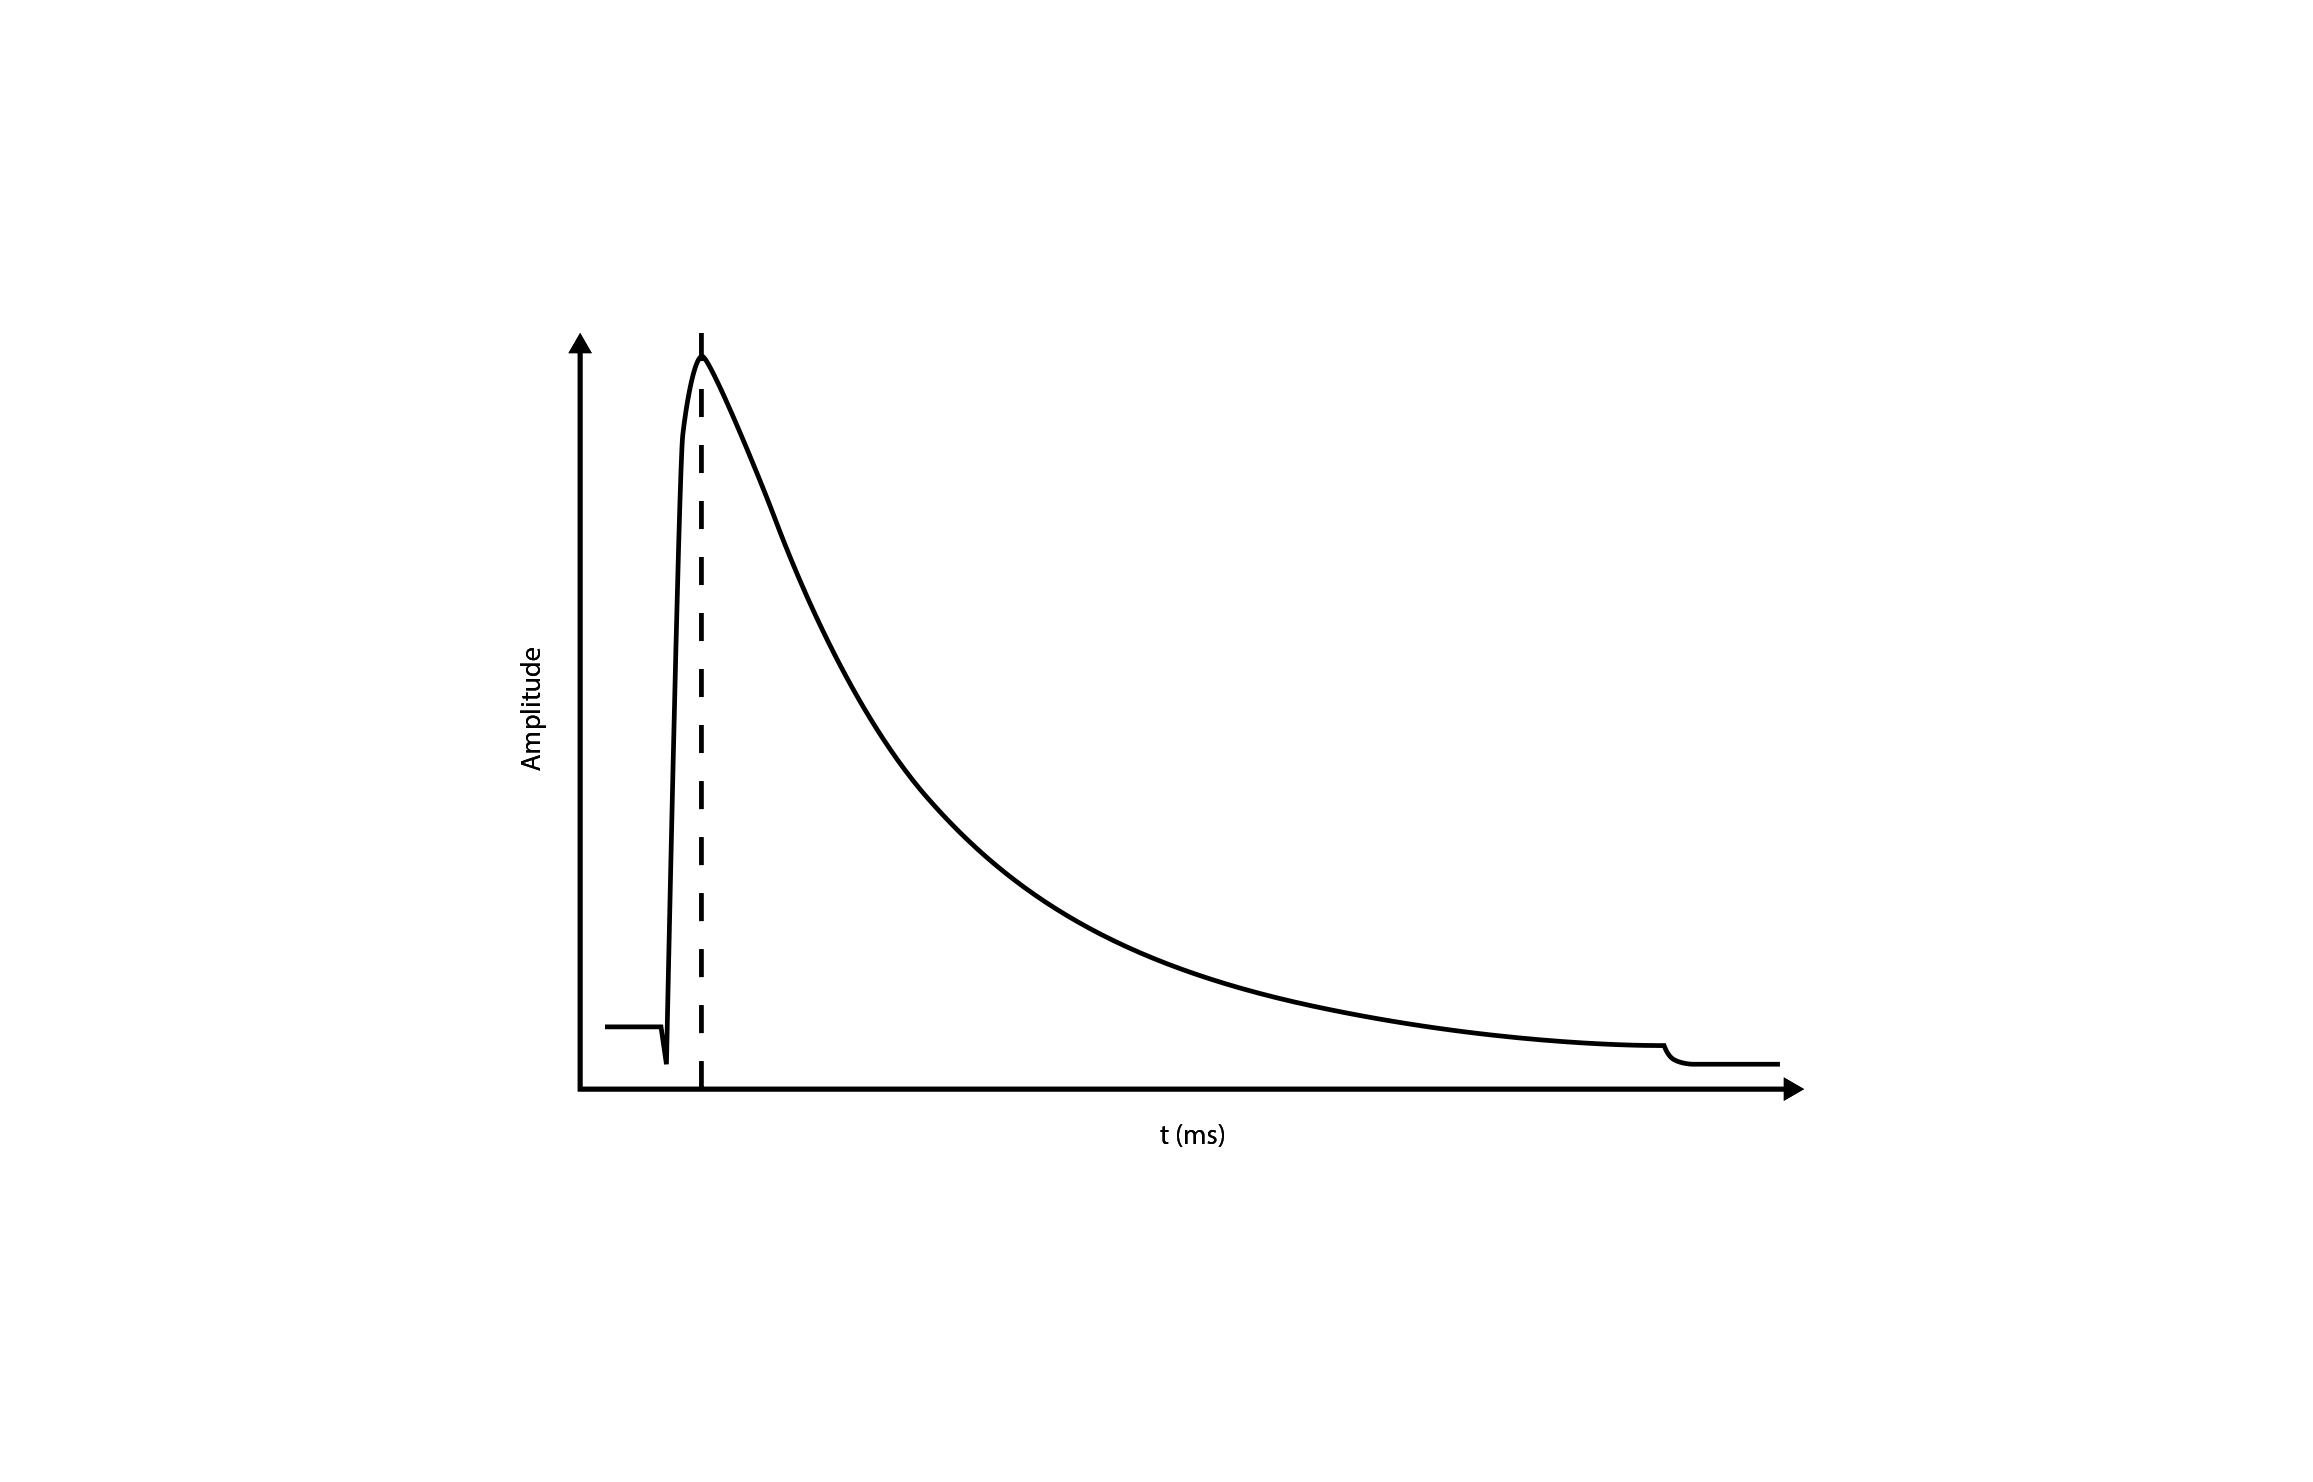
This is a flash curve with which we are all familiar. As explained earlier, the flash fires when the image sensor is uncovered. This flash then fades and the image sensor is covered again. But we want to set an exposure time such that the image sensor is never completely uncovered. To achieve this we need something approaching continuous lighting.
How Hypersync works
To generate continuous lighting from the point of view of the image sensor, the flash must burn for longer than the time the shutter needs to pass across the sensor. That is to say longer than the X-Sync time, which, as already mentioned, is in the order of 1/250s. In addition the image sensor must be illuminated before the first shutter curtain is fully open. Or, more accurately, before it has uncovered even one pixel of the image sensor. It works like this:
1) The flash fires before even one pixel of the image sensor has been uncovered
2) The first shutter curtain starts to open
3) The second shutter curtain starts to close. These operations together give rise to the scanning procedure mentioned above.
4) The flash continues to burn and only stops when the scanning procedure is complete. For this reason we need the longest possible flash duration.
The longer the flash duration the better
It might seem unusual, but that is really how it is. On the other hand, HyperSync also has a few little snags. Some of you perhaps already know where this is leading.
It uses a great deal of power
Because the full quantity of light fails to reach the complete image sensor, a lot of light is wasted. So don’t be surprised then that when you switch to HyperSync you have an image that is darker than before.
The image will have a brightness gradient
When you look at the flash curve, then you can see that the image receives more light at the start than at the finish. As the flash fades, the quantity of light is reduced. The effect is that your picture is brighter at the bottom than at the top. For this reason, with Hypersync it is desirable to have the longest flash duration possible (it’ll make the curve flatter). This phenomenon is well simulated in the following animation.
One or another of you may think this is not really a problem. I could simply lay a brightness curve over the image to correct it. The basic idea may be right, but in practice HyperSync is mostly used outdoors. This means we’ve got a situation where real continuous lighting dominates, but is combined with flash. In this case the image needs to be corrected only where the flash is effective, while the rest of the image should stay as it is.
Colour authenticity not assured
As mentioned above, in a studio you can take steps to counter the problem with the brightness gradient. However a flash curve does not have the same colour temperature at the beginning as at the end. For this reason, with Hypersync colour authenticity is not assured.
Conclusions
HyperSync is a fantastic advantage. But it does have a few snags, and is no replacement for a short duration flash in a studio. However, especially outdoors it is a great feature; now you can use a large aperture to provide an out-of-focus background, or simply freeze super-fast motions. As mentioned at the start, I will show you precisely how that works in practice in Part 2.