Now here it is, at last – Part 2 of the HyperSync article. In Part 1 we looked at what Hypersync is and how the whole thing works. But first of all here, I want to say thank you for lots and lots of great feedback. There were many emails and I was especially pleased to receive several telephone calls from abroad.
But now to our subject: How does Hypersync work in practice?
Clearly, after so much theory, I want to familiarise you with the practical applications of HyperSync. In the first part I showed you how the flash has to be triggered before the shutter opens. But that is easier said than done. In this post I want first to show you the classical way, and then also the “cool”, more favourable method using the existing RFS.
How does the classical way work?
Probably many of you have read about radio systems, which offer a HyperSync function. PocketWizard would be the classical example, but in the meantime this HyperSync is also available from low-cost Chinese manufacturers such as Yongnuo. Personally I have tested this version in practice, and have to say that it functions quite reliably. The thing that I find much less appealing is that you have to run the whole configuration using special Software.

When you have connected the radio trigger to the computer with a USB cable, you can set a (negative) offset there, which defines how much earlier the flash should be triggered. This will, of course, vary slightly depending on the flash and camera combination, so it is a matter of trial and error until you get it right. The disadvantage is that you always have to have a computer there if you want to adjust something. And especially on location, where I use HyperSync most of all, the computer is often not available. Furthermore, you need at least one transmitter and one receiver from one of these radio systems for this version, which makes it much less attractive from the cost point of view. It would be much simpler if you could use the RFS, which you anyway already own if, for example, you buy a Move kit.
The trick – RFS with HyperSync
It is also possible with short exposure times to take photographs without using a radio system. And to do this we need only equipment, which most photographers already own. These are the ingredients:
- broncolor RFS
- a commercially-available Speedlite
- gaffer tape
- a photoelectric cell
The photoelectric cell is the only item here that has to be purchased separately. The cost of this is probably not more than 20.00 CHF. So the advantage of this variant is its low cost. Hardly any cost versus very expensive!
But how can I achieve my short exposure time with this Equipment?
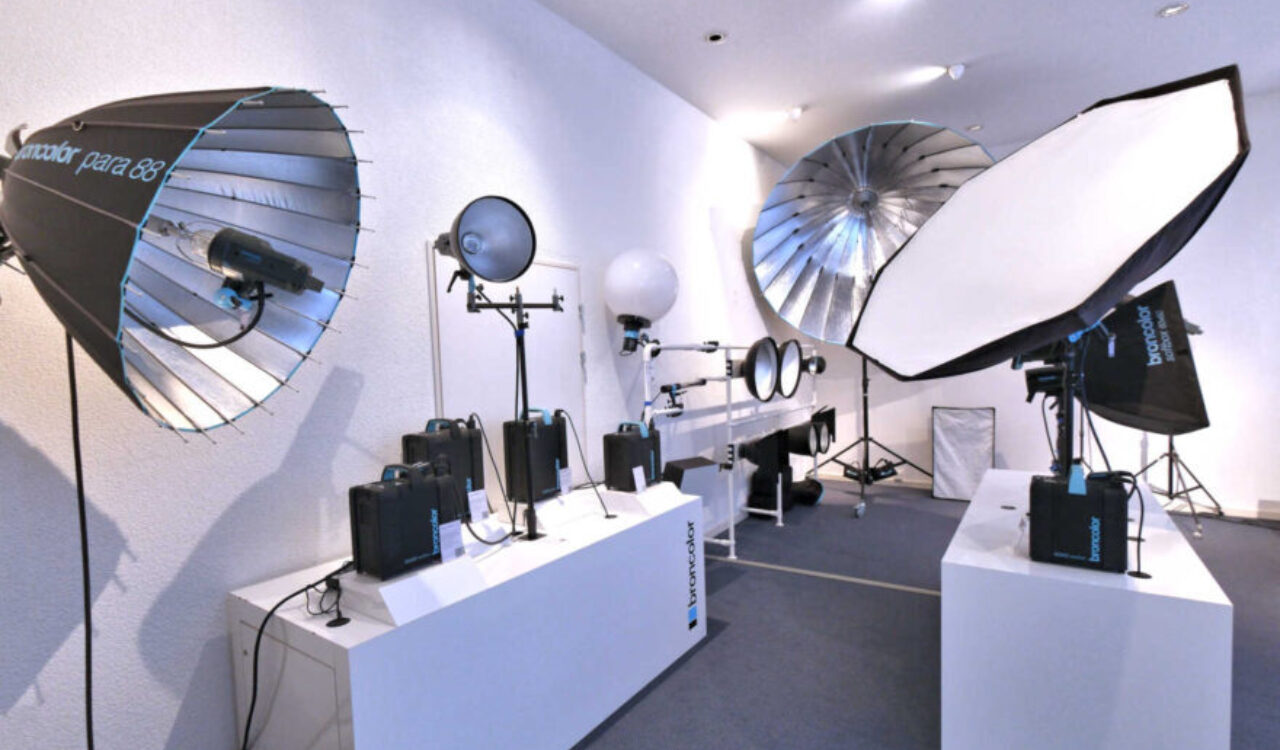
That is what I want to show you now with step-by-step instructions. This cellphone shot shows the equipment described above:

With a Speedlite it is already possible to take photographs with an exposure time shorter than the X-Sync time. But what is happening exactly?

- The flash is triggered before the first shutter curtain opens
- Pulsing of the flash produces a sort of continuous lighting.
- The shutter executes its scanning operation, as described in Part 1.
- The two shutters pass across the entire picture so that this is uniformly exposed.
What does that do for me? How do I come to my short exposure time?
It does a great deal. The diagram shows that the flash from the Speedlite is triggered before the first shutter curtain opens. And that is precisely what we want. We can now use this flash impulse to trigger our power pack. And we use the photoelectric cell to do it.
What can the photoelectric cell do?
In fact this photoelectric cell is just the same as the one built into the power pack. It would be quite possible to use this for triggering. The problem here is that you have to sit beside the power pack the whole time to be sure that this photocell reacts at all under outdoor lighting conditions. For this reason we combine the photoelectric cell with our RFS. Then the photoelectric cell reacts to our first impulse from the Speedlite and triggers the RFS. And so the RFS triggers the power pack before the first shutter curtain opens. To make this set up easy to handle, I use gaffer tape to stick the photoelectric cell to my Speedlite. It then looks like this:

But you promised a practical example – where is it?
You often see those familiar publicity photos with a dramatic, dark sky. Now I want to take just such an example to show you how to use this technique in practice.
When you take photos in daylight with the sky in the background, it is normally fairly bright, sometimes even almost white. A normal photograph without flash might look like this.

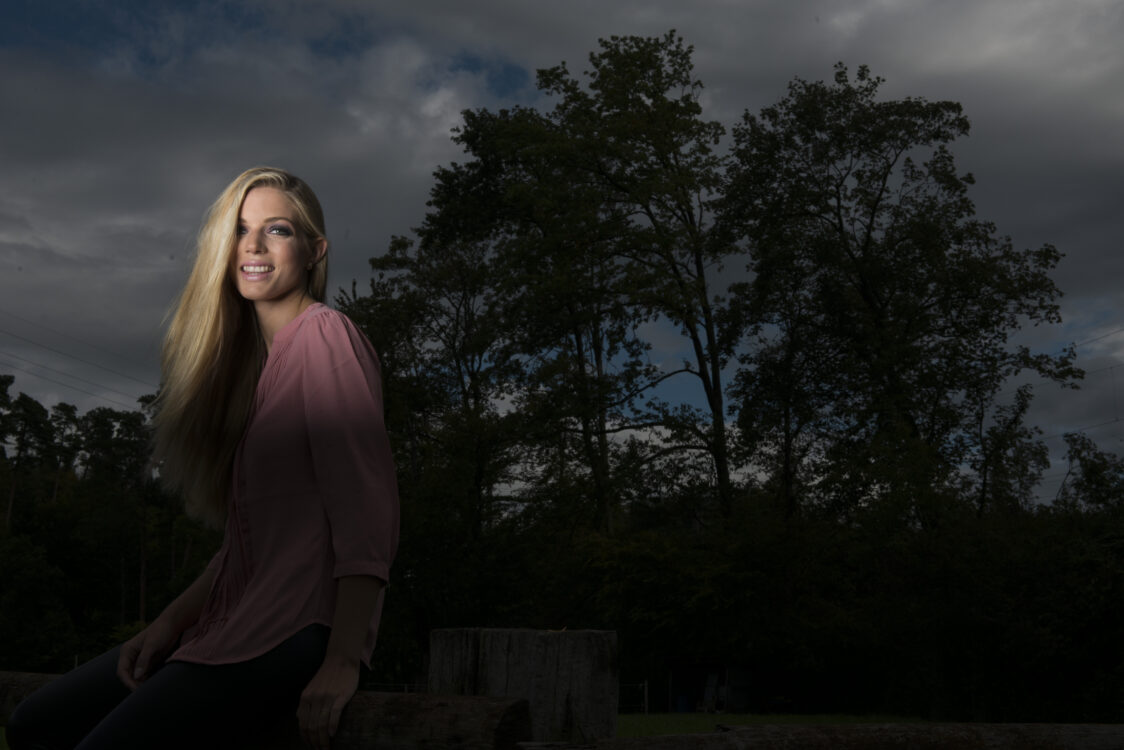
If I want to insert a dramatic sky in this scene, it is not just important to have more sky in the picture. The exposure must be adapted as well. First I set the exposure so that the sky is nice and dark. Because the exposure time without HyperSync is very restricted, in this example I have used f-stop 18 at 1/160s. As you can see the image is now massively underexposed, but the sky now has this beautiful, dark atmosphere.

Because my image is now so severely underexposed, the foreground, or rather the model, has to be brightened up with flash. In this example I have used the Move, whose light weight and super trolley make it perfect for outdoor shootings such as this. Now you can see that we have in fact achieved precisely what we wanted. We have a correctly exposed model against a dark sky.
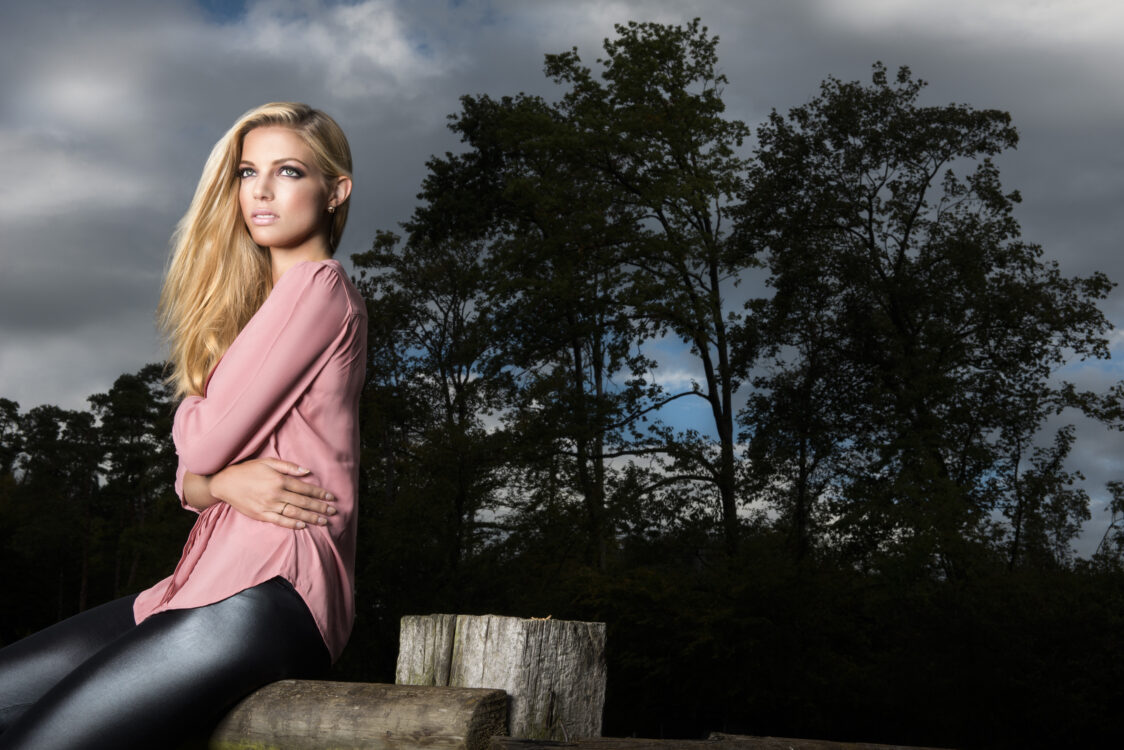
Because, without HyperSync, we have to use f-stop 18, everything is of course sharp. That is why, in my opinion, the background simply distracts too much from the motif. So I must open up the aperture. But then the background will be too bright again. And I have to make it darker with the exposure time. And then this must be faster than the X-Sync time. Otherwise we will have a picture of the shutter curtain.
However by exploiting the technique described above, it is no problem to set the exposure time faster than the X-Sync time. So I attach my RFS and photoelectric cell to the Speedlite and set my camera, in this case to f/3.2 and 1/5000s. My background remains dark, but being out of focus distracts much less from the motif. This gives us an image which is only possible using this technique.

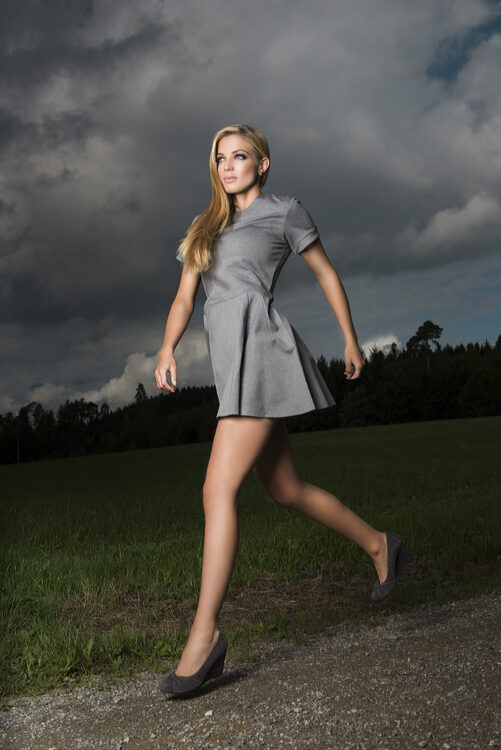
HyperSync applications
In Part 1 we considered where HyperSync makes sense. Of course the action and sport fields are among the most common applications. Unfortunately I did not have a top sportsman or woman immediately available, but with this image I can give you a good example. Here the model has skipped. In such outdoor skipping exposures, slight out-of-focus is often noticeable, particularly in the hair. broncolor flashes are ultra-super-fast, but when you cannot photograph outdoors faster than the X-Sync time, daylight has a big influence on the sharpness of the image. That is why we need HyperSync here too, and instead of using flash to freeze the motion, we do it with the exposure time.